Welcome to my creative space!
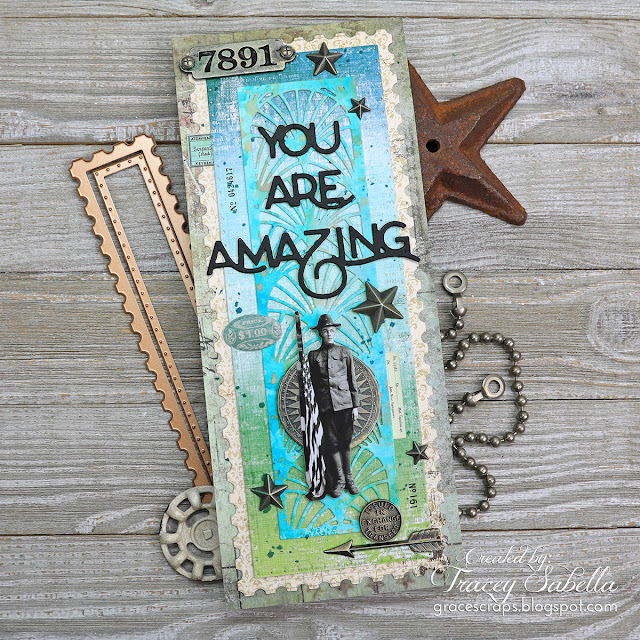
Father's Day is a special time to honor our fathers and other special men in our lives. I hope you had the opportunity to celebrate with a loved one this year. My dad served in the Air Force in the photomapping division and has proud memories of his service to our country. To honor that legacy, I created this Father's Day card for him featuring the Amazing Paper Grace Postage Edge Slimlines (S5-541) and You're Amazing (S4-1203) die sets, pairing the slimline die cuts with Tim Holtz Idea-ology ephemera and metal pieces. When looking through my paper dolls this military figure with the flag caught my eye.
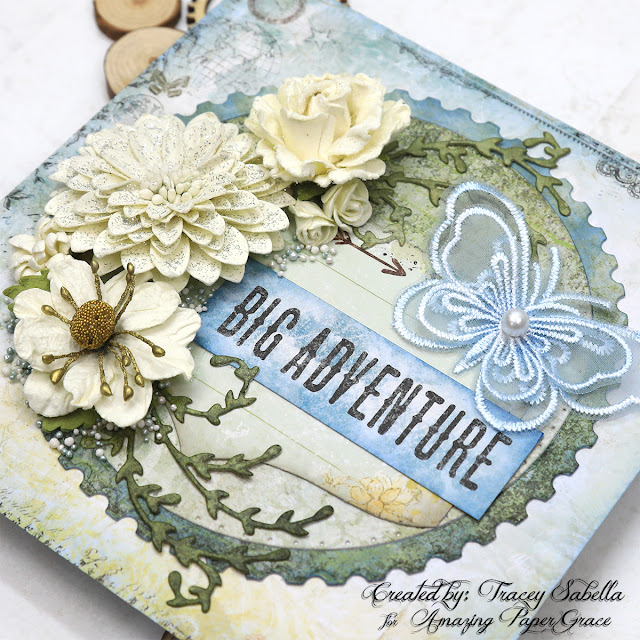
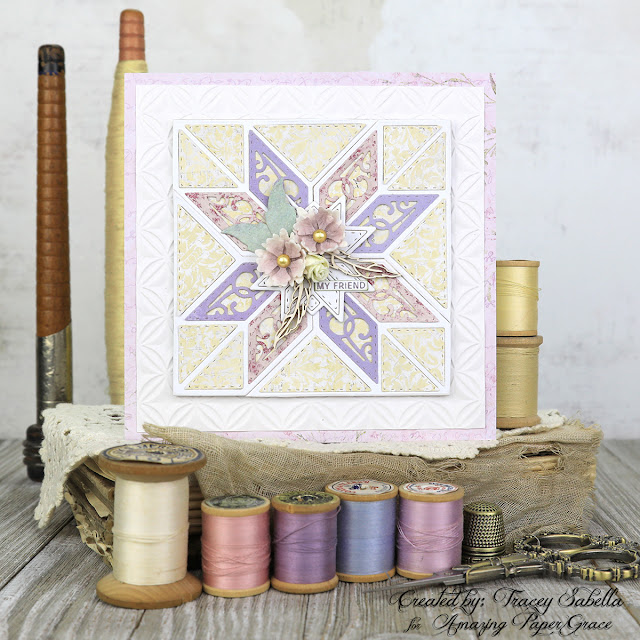
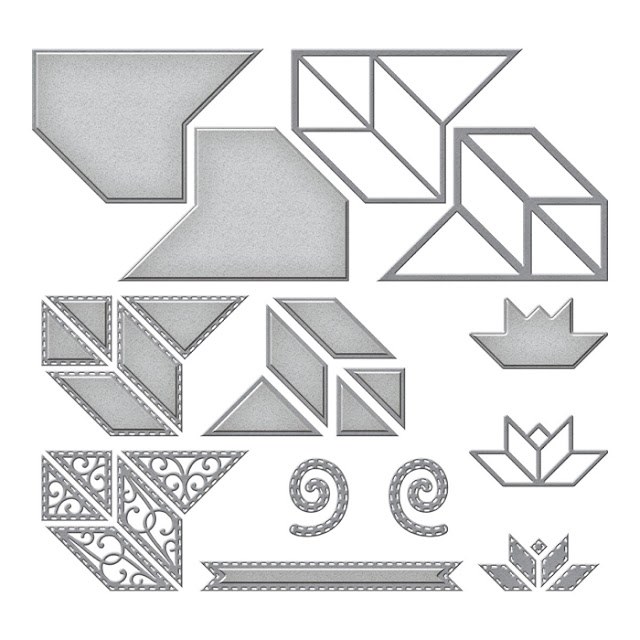
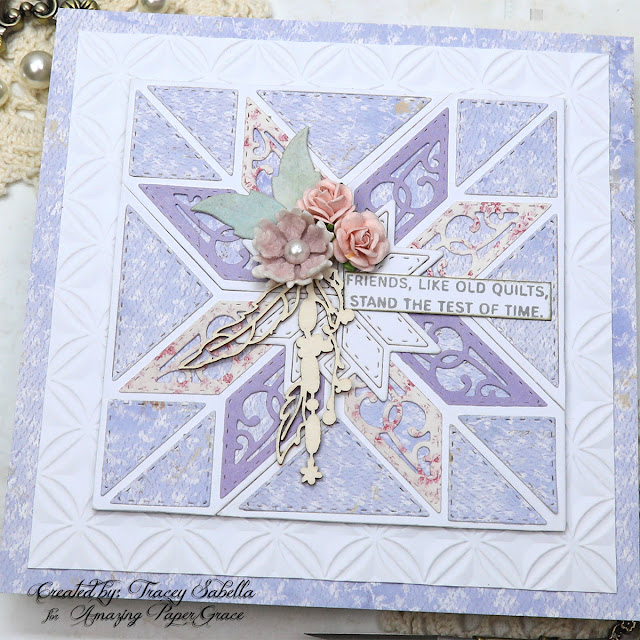
I just adore how the Slimline Postage edge dies work perfectly with the intricate background die cut from the You're Amazing set to form a wonderful masculine background for this special card.
For more close-ups and all the details on how to create this card, be sure to scroll down through the Tips and Techniques section below.
Thank you Amazing Paper Grace for providing the dies used in this project.
You can add visual interest by repeating elements. I've accented this card with numbers that can be found on the metal tag and used remnant rubs to add number strips to the background. I've also placed 3D metal stars across the card. These repeated elements help move your eyes across the image.
I'm entering this week's Simon Says Stamp Monday Challenge: Pick a Number. You can find this number challenge HERE. They have wonderful challenges each week, and if you aren't familiar, be sure to go check them out!
Tips and Techniques

This soldier carrying a flag from the Tim Holtz Idea-Ology Paper Dolls Minis pack is the perfect image to honor my dad with this card.
I want to share how the background for this card came together. The top die cut uses a scrap of paper that I had created using Distress Spray Stains and Distress Oxide Sprays on Distress Heavystock Paper. Because this was in my stash I don't remember the exact colors that I used to create it, but they were in the teal range with splashes of orange. This intricate die cut using the hand-colored paper adds so much interest and visual dimension. It's layered over a blended tri-color paper from the 49 and Market - Spectrum Sherbet Collection - 6 x 8 Collection Pack. I positioned the soldier so that it looks like he's standing in a grassy meadow with a blue sky overhead. This piece was cut and embossed using the largest inner die from the Postage Edge Slimlines set. You can see the pierced design around the edges.
From there I went to some older papers from my stash to cut the outer postage edge layer from a cream and brown design, then for the card base layer I went back to earthy greens cut to 3 1/2 by 8 1/2". I wanted each layer to be different enough in color and tone so that while coordinating into one beautiful background, the design of each layer would be clearly visible. You don't need to use these exact papers and colors to create a wonderful masculine card, but consider how the colors and designs will pull together cohesively while allowing the die cut designs to shine.
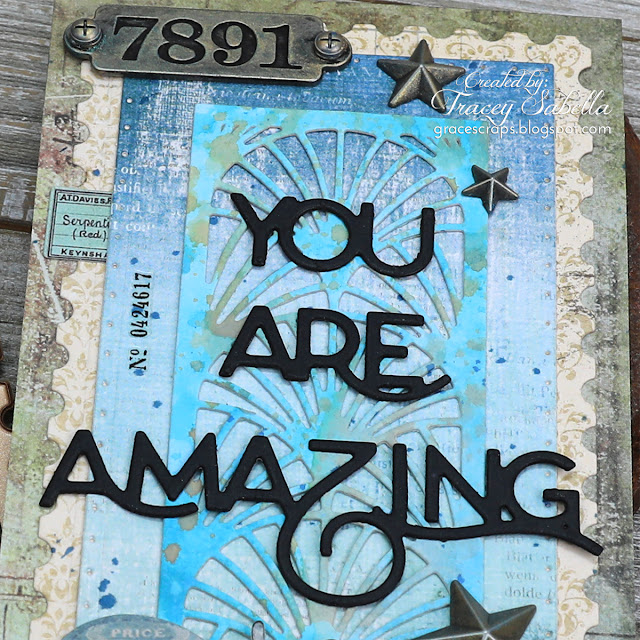
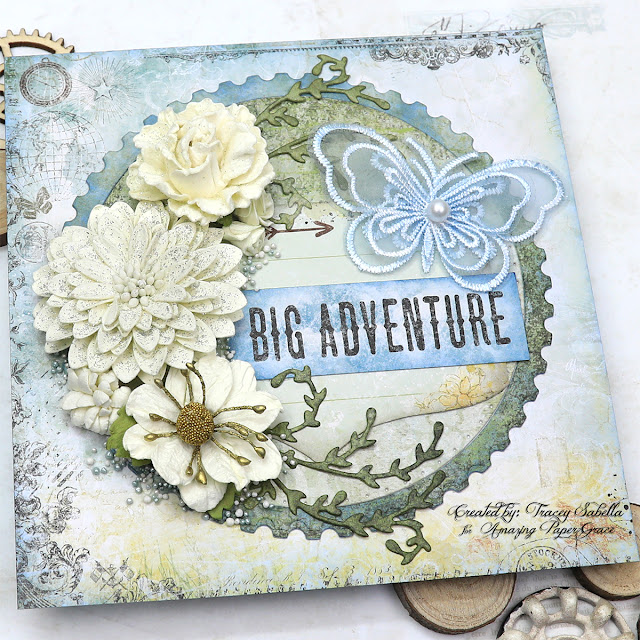
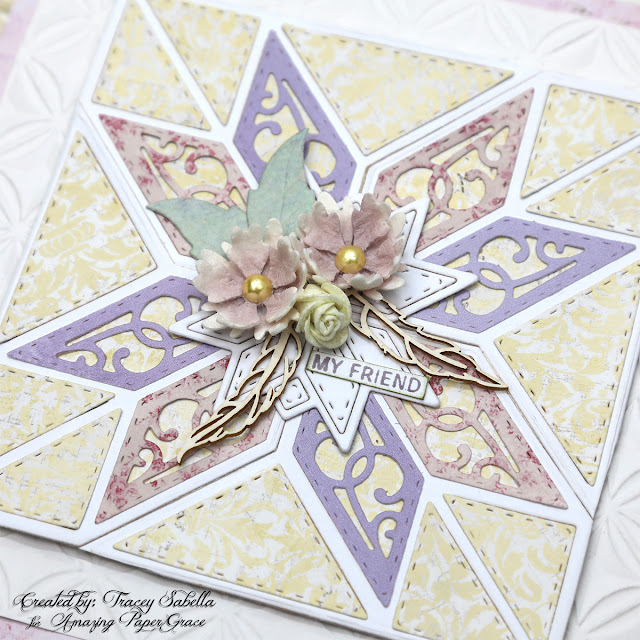
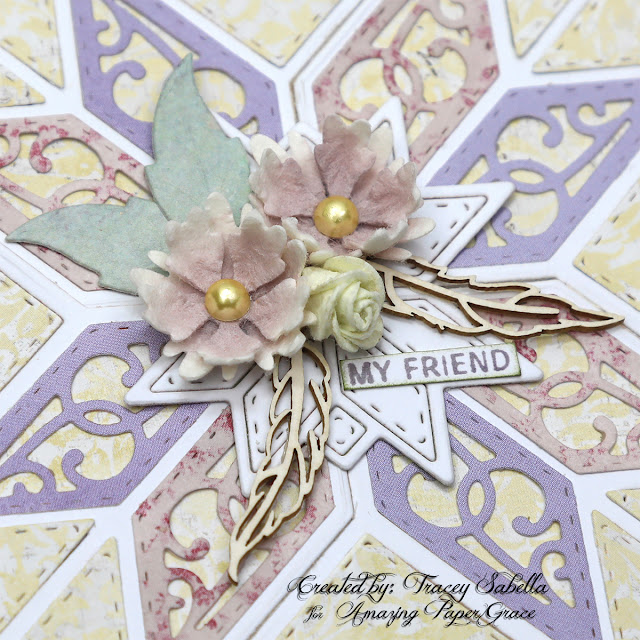
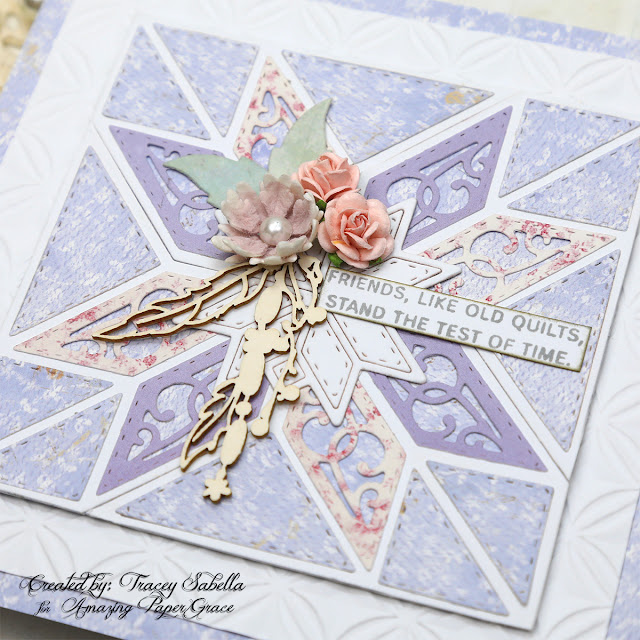
This fabulous sentiment is cut from the You're Amazing die set that also includes the beautiful die that cut the top intricate layer of the background. The words are cut from a heavyweight black cardstock so that they would show up against the busy background. This masculine card with this encouraging sentiment would be suitable for so many types of events including Father's Day, a birthday, graduation, promotion, or any milestone event.
To add interest, random numbers are applied to the background using Remnant Rubs from the Tim Holtz Special Delivery set as well as a couple pieces of ephemera tucked in from the Curator Snippets set.
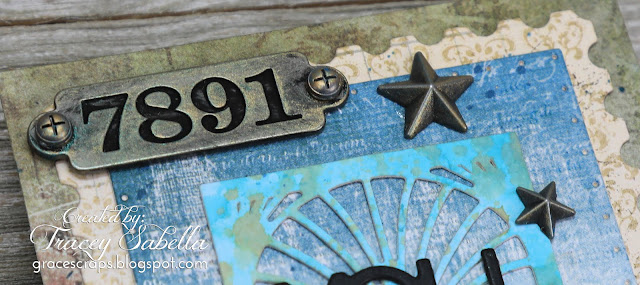
This number plate from the Factory Tags set is adorned with screws from the Hardware Heads set. The numbers were not very visible, so I rubbed Black Soot Distress Ink into the numbers to help them stand out. Of course the entire piece was covered in black paint, so I used a soft paper towel to remove most of the paint from the surface, but left a little for a grungy aged feel.
The Idea-ology Stars that are scattered across the card reference this patriotic image from the flag. For a tarnished brass effect all of the silver metal pieces were rubbed with Finnabair Metallic Wax in Aged Brass and Peacock.

I find it a challenge sometimes to fill out a slimline card, so I've added this arrow and word coin to the bottom left of the card to balance the number plate on the top left corner. You can also see another of the number rub-ons in this photo.
Once all the background layers were adhered together and before the embellishments were adhered, I splattered Uncharted Mariner Distress Spray Stain over the background to add more visual dimension.
Don't you just adore the effect of these postage edges? They're so perfect for this masculine Father's Day card!
Below you can find the products I used to create this project including some with compensated affiliate links to Scrapbook.com and Spellbinders. These links are at absolutely no cost to you. When you shop through the links below, I receive a small commission from the companies. These commissions help me cover the costs of my blog and other expenses, which allows me to continue to provide you with FREE inspiration along with detailed Tips and Techniques provided for every project. Thank you so much for your love and support!
Amazing Paper Grace Sets:
Paper:
Thick black cardstock
Retired pattern papers from my stash
Mixed Media:
Ranger Ink - Tim Holtz Distress Sprays and Distress Oxide Sprays in teals and orange.
Ranger Ink - Tim Holtz - Distress Paint - Black Soot
Prima - Finnabair Collection - Art Alchemy - Metallique Wax - Aged Brass
Embellishments:
Idea-ology - Tim Holtz - Adornments - Stars
Idea-ology - Tim Holtz - Remnant Rubs - Special Delivery
Idea-ology - Tim Holtz - Compass Coins
Idea-ology - Tim Holtz - Arrows
Adhesives:
Beacon - 3-IN-1: Fabri-Tac
Helmar - 450 Quick Dry Adhesive
Tools:
Thanks so much for stopping by to learn more about creating this masculine card.
I hope you've been inspired!