Showing posts with label 5x7" Card. Show all posts

Monday, August 29, 2022

Summertime Hello Card for Amazing Paper Grace

Welcome to my creative space!

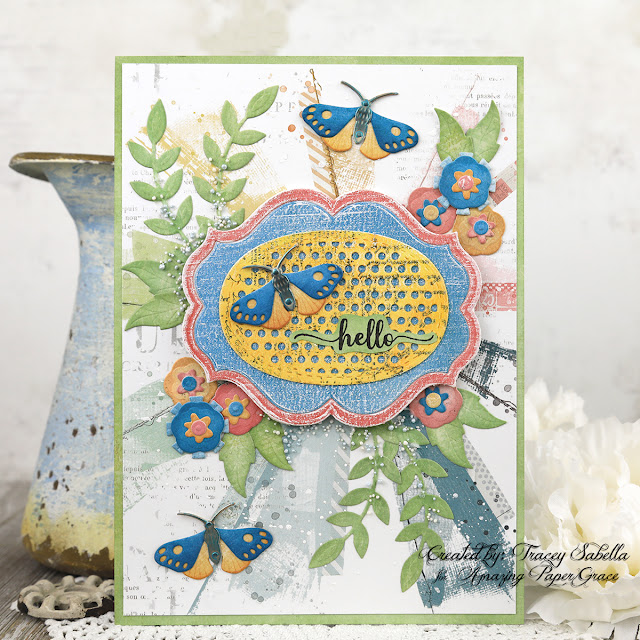
This fun summer card has a bit of a different look for me with this funky design using the fabulous Amazing Paper Grace Summer Label Motifs die set (S4-1220). The sweet sentiment comes from the Seasonal Motif Sentiments Stamp Set (STP-150).

I just adore these fun moths and flowers which are cut from 49 and Market papers and edged with distress ink to help them pop. 

Be sure to scroll down through the tips and techniques section below to see how I created the yellow watercolor paper for the label center along with close-ups and many more details on how I put this sweet card together.

Thank you Amazing Paper Grace for providing the dies used in this project.

Tips and Techniques
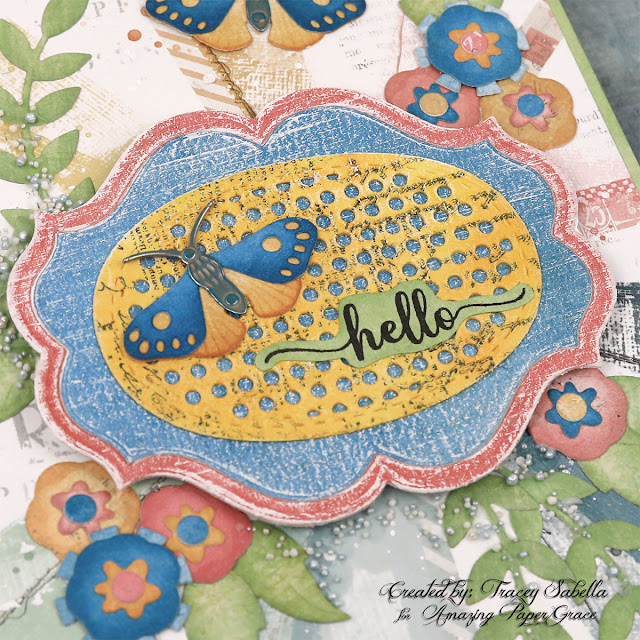
I had some stamped watercolor paper that I created for the flowers on my previous project that had stamped darker than I wanted using a script stamp, but it was just perfect for the center of this label piece. I die cut the oval then spritzed it with water and used a wash brush to add a couple shades of yellow to give it beautiful color and dimension. Once dry, I added a touch of orange randomly across the piece with Rusty Hinge Distress Ink. 

The label frame is cut from pink and blue papers from 49 and Market Spectrum Sherbet papers. To lighten them I dry brushed over the papers using a soft touch with white gesso. The label is popped up using foam tape. This adds dimension and gives room to tuck flowers and foliages beneath the edges.

This sweet sentiment comes from the coordination Amazing Paper Grace stamp set: Seasonal Motif Sentiments (STP-150). I used permanent black ink on white cardstock. Once dry, I used scissors to cut it out, then inked with Bundled Sage Distress Ink to coordinate with the foliage.
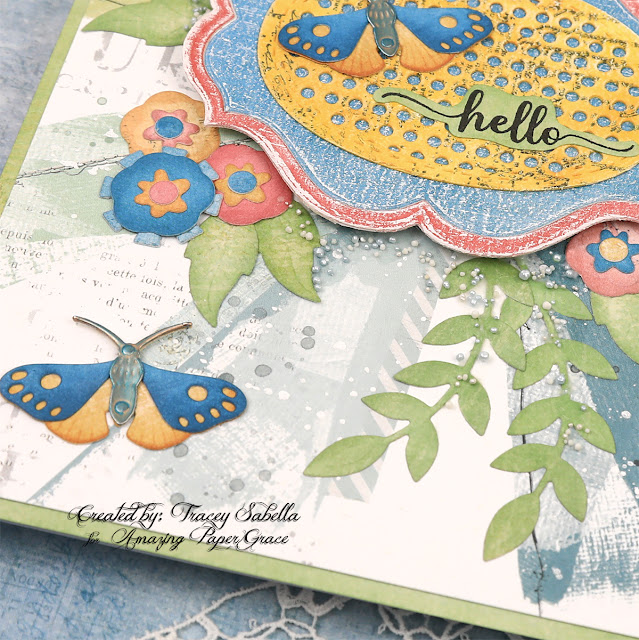

The darling moths are cut from patterned paper and the edges are inked to give definition. THe bodies are cut from Tim Holtz copper metallic card stock and inked with Finnabair Peacock Metallic Wax. I just adore how the copper peeks through the teal wax. This die set includes both leafy sprigs and individual leaf dies. It really includes everything you need to created a beautiful summery card.

Each of the flowers is cut from three to four layers of patterned paper in blues, pinks, and yellows. Each layer except the tiny center is inked with coordinating Distress Inks. I found a scrap of green patterned paper in my stash that coordinating perfectly to use for the die cut foliage. The leaves are edged with a bit of Bundled Sage Distress Ink.

To add a bit of texture, I brushed over the foliage with Finnabair Soft Gel Medium and dropped on pearl and silvery blue Prills. 
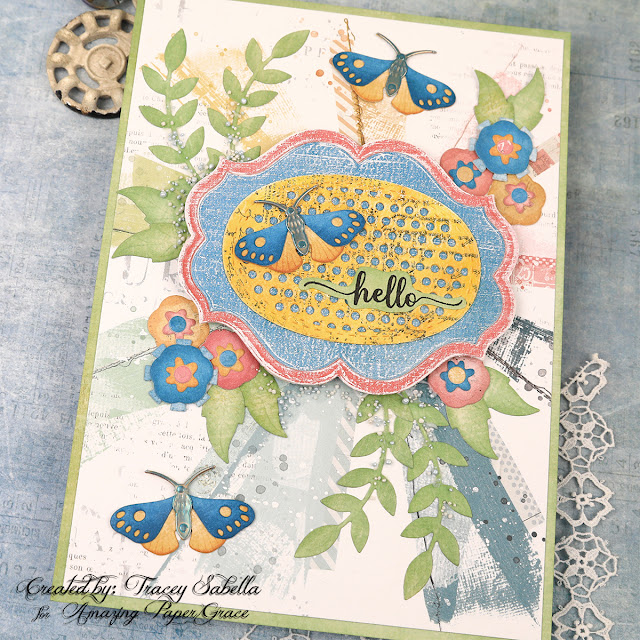
Before adhering the label and elements, I spattered across the background with white ink. The color spatters you see are part of the beautiful 49 and Market printed paper. I've framed the card with the same paper used for the foliage. It's also edges with Distress Ink.
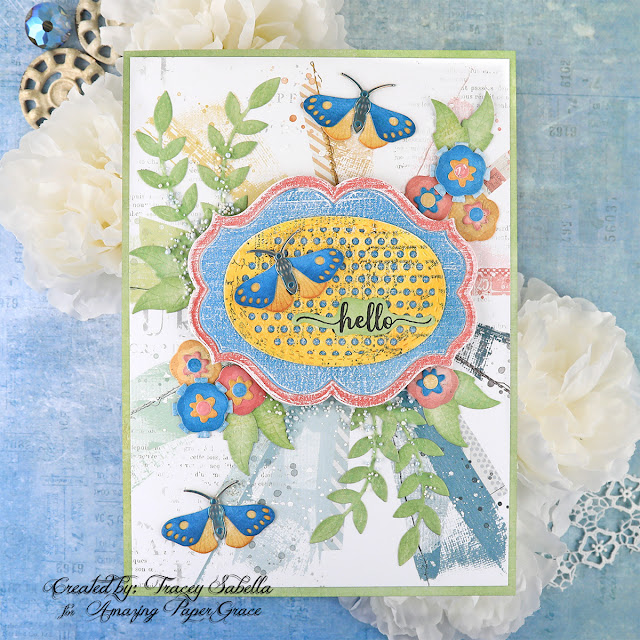
One final look.

Below you can find the products I used to create this project including some with compensated affiliate links to Scrapbook.com. These links are at absolutely no cost to you. When you shop through the links below, I receive a small commission from Scrapbook.com. These commissions help me cover the costs of my blog and other expenses, which allows me to continue to provide you with FREE inspiration along with Tips and Techniques provided for every project. Thank you so much for your love and support!

Supplies:

Amazing Paper Grace:

Paper:

Ink:

Mixed Media:

Embellishments:
  • USArtquest - Prills - Ice Queen; Minnie Pearls

Adhesives:

Tools:

Thanks so much for stopping by to view my card. I hope you've been inspired.

~ Blessings ~

Sunday, August 14, 2022

Introducing Amazing Paper Grace Seasonal Label Motifs Collection with Cards Two Ways

Welcome to my creative space!

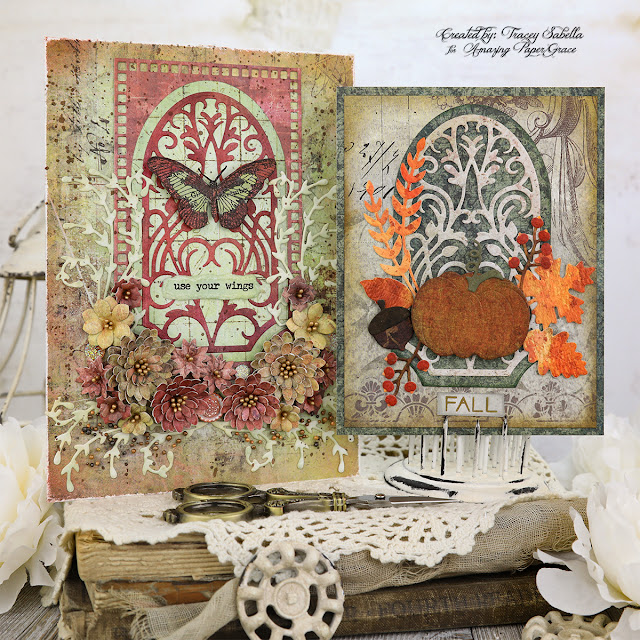
This Amazing Paper Grace Fall Label Motifs die set (S5-519) is such a versatile and gorgeous die set and is part of the new Seasonal Label Motifs Collection.

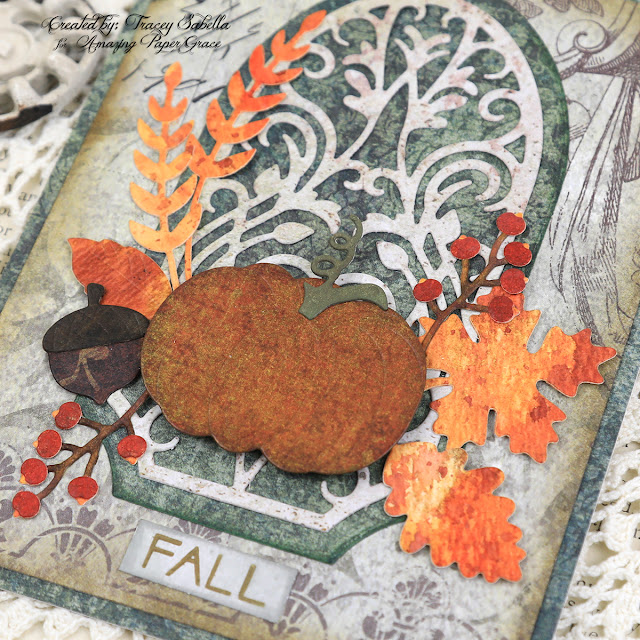
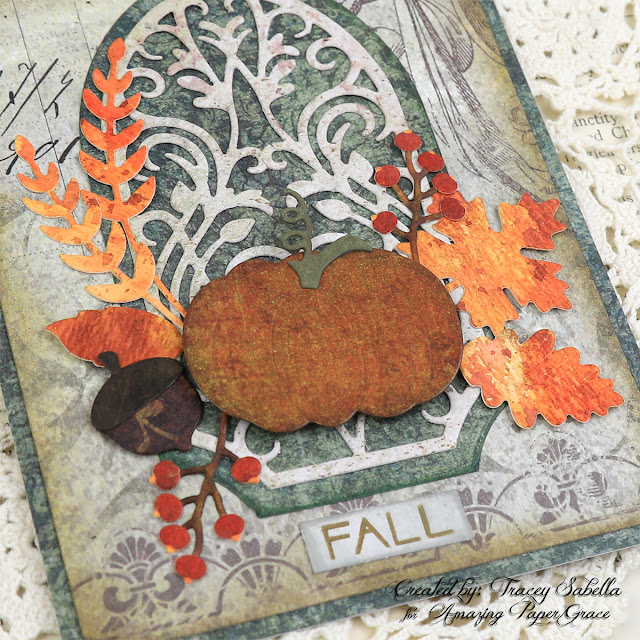
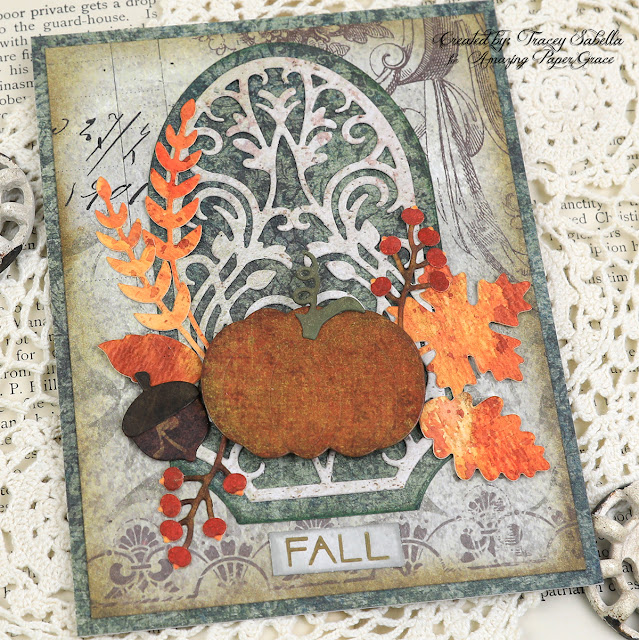
My first card fits the fall theme of this set featuring this sweet pumpkin and acorn surrounded by gorgeous watercolor fall foliage. What a beautiful way to welcome in the fall season which is the favorite of so many. The sentiment is from the Seasonal Motif Sentiments stamp set (STP-150)

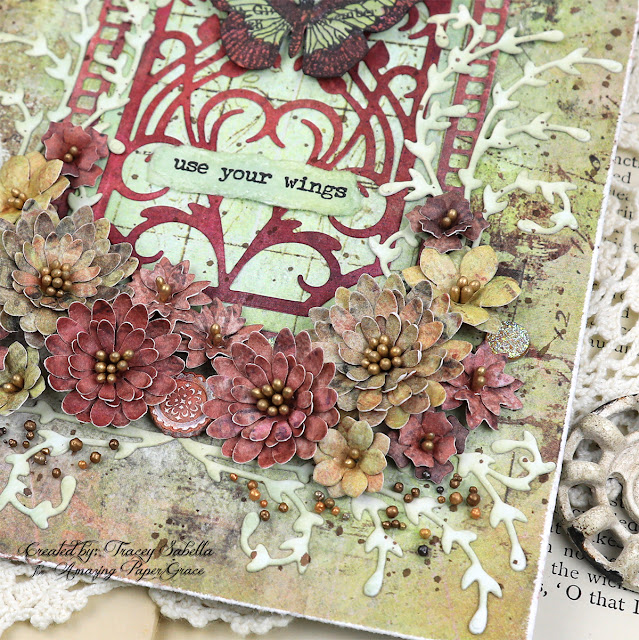
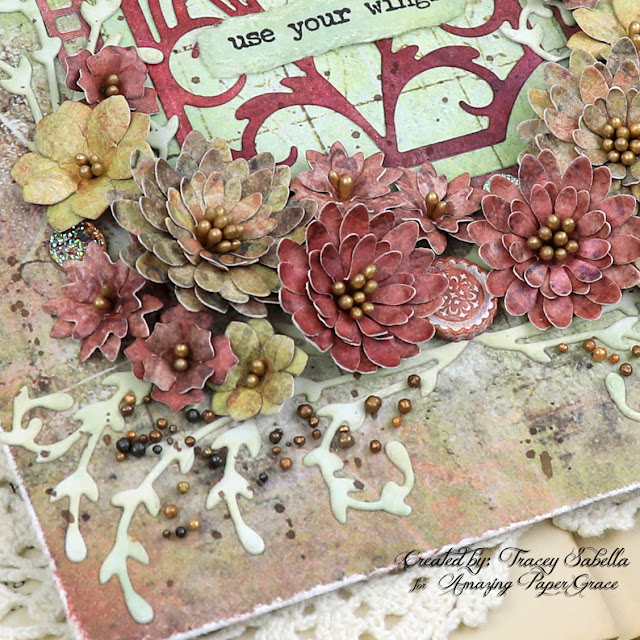
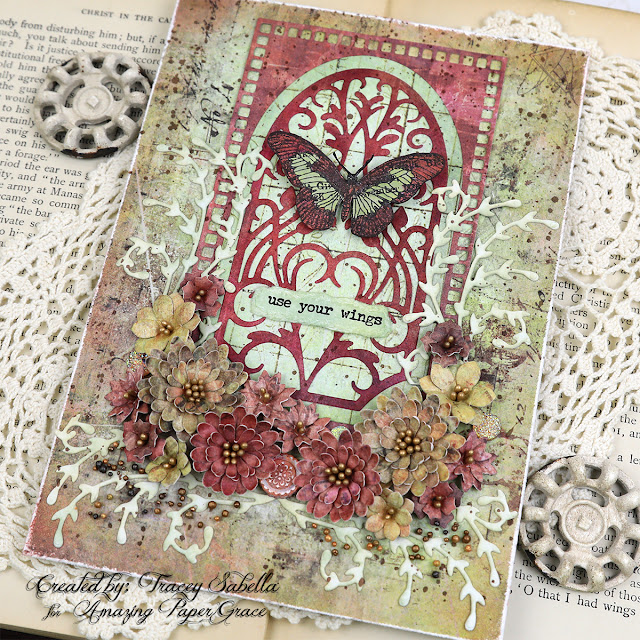
Then I wanted to show how to use this lovely set for a non-fall card using the gorgeous label and background inlay. I layered a stamped and hand colored butterfly over the inlay and surrounded them with handcrafted flowers using Petite Floral Potpourri (S3-420) and Cinch and Go V (S4-995) dies along with foliage die cut using the My Sweet Friend (S5-512) set. The border around the inlay uses the Eyelet Lace Frame (S6-184) die set.

Be sure to scroll down through the Tips and Techniques section below for more close-ups and all the details on how I put these lovely cards together. 

Today's projects were created with dies provided by Amazing Paper Grace.

My Projects for Today


Tips and Techniques
I layered fall orange, yellow and red color mists onto watercolor paper and die cut it to create these amazing fall leaves. I just adore the organic feel these grungy colors create. The berries are die cut from the same paper, then rubbed with red distress inks to deepen the color. The berry branch is also cut from this paper. The stems are colored brown, and the berry section is left in the original color so that the tips of the berries are this lovely fall orange color. 

Beautiful fall color patterned papers are die cut to create the pumpkin, acorn, label and inlay as well as for the background layers. The edges are inked where appropriate to help give definition. The fall sentiment from the Seasonal Motif Sentiments Clear Stamp Set (STP-150)
is stamped with brown permanent ink onto white cardstock, then colored with distress inks.

One final shot of this beautiful fall card.


I've used beautiful summery patterned papers to cut daisies using the Cinch and Go V die set (S4-995)  paired with smaller flowers die cut with the Petite Floral Potpourri set (S3-420).  The flowers are shaped and centered with gold stamen. 

This sweet sentiment pairs beautifully with the lovely butterfly and is stamped onto white cardstock and colored with distress inks to coordinate with the background. 

This beautiful foliage is die cut with the My Sweet Friend set (S5-512) from white cardstock and colored randomly with distress ink. 

The background paper is distressed around the edges using the edge of my scissors blade. After adhering the foliage, the background was spattered with black India ink. 

The medallion in the center of the flowers was silver. I brushed it with white gesso then applied Finnabair waxes to color this beautiful piece. 

Prills are scattered below the floral cluster to add texture. I brushed the area with Finnabair Matte Soft Gel Medium, then loosely scattered the prills over the wet medium. The gel dries matte and perfectly clear, so is not visible once dry. 

This inlay piece is just so gorgeous and particularly striking in red. The outer layer is die cut using a die from the Eyelet Lace Frame set (S6-184).

The gorgeous butterfly is stamped, then colored with distress inks by pressing the ink pad onto my craft mat and picking up the ink with a round fine tip paint brush to color the lovely image. The butterfly is fussy cut to layer over the inlay. 

The Seasonal Label Motifs Availability:
These dies and plates are available from Spellbinders right now! Click here: The Seasonal Label Motifs Collection.

Below you can find the products I used to create this project including some with compensated affiliate links to Scrapbook.com. These links are at absolutely no cost to you. When you shop through the links below, I receive a small commission from Scrapbook.com. These commissions help me cover the costs of my blog and other expenses, which allows me to continue to provide you with FREE inspiration along with Tips and Techniques provided for every project. Thank you so much for your love and support!

Supplies:

Amazing Paper Grace:

Paper:

Ink

Stamps:

Mixed Media:

Embellishments:
  • Finnabair with Prima ~ Melange Art Pebbles - Sugar
  • Momenta ~ Metal Stickers - Mini Medallion
  • US Artiest ~ Mini Drills - Taken for Granite

Adhesives:

Tools:

For more The Seasonal Label Motifs Collection Inspiration
Visit each Creative Team blog linked below for their take on creative paper crafting ideas using  The Seasonal Label Motifs Collection.

I would adore hearing from you! Please leave a comment below letting me know how you will use these gorgeous dies!


Thanks for stopping by! I treasure your comments.

~ Blessings ~

Monday, August 1, 2022

You Are Amazing Card for Amazing Paper Grace

Welcome to my creative space!

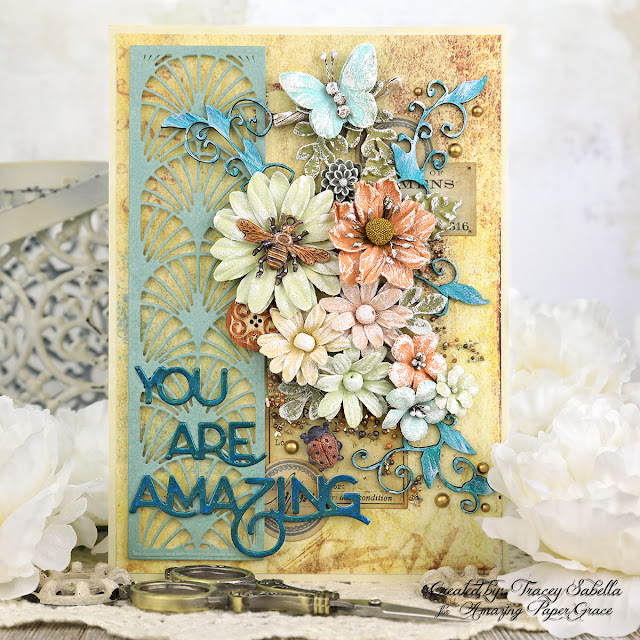
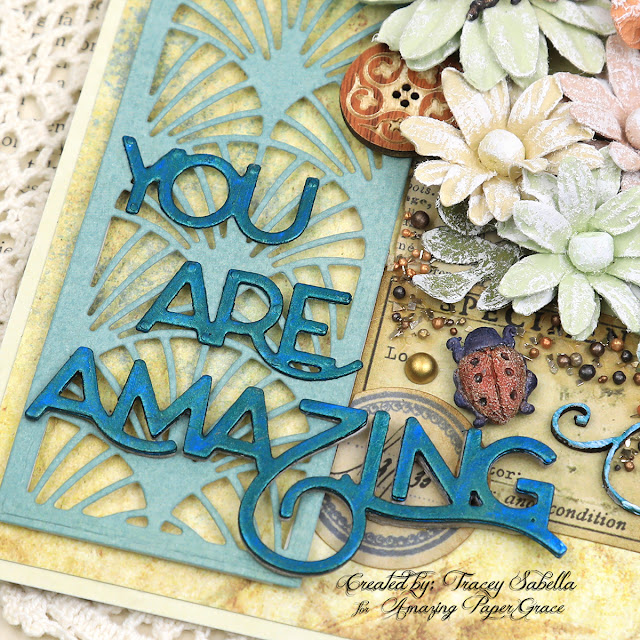
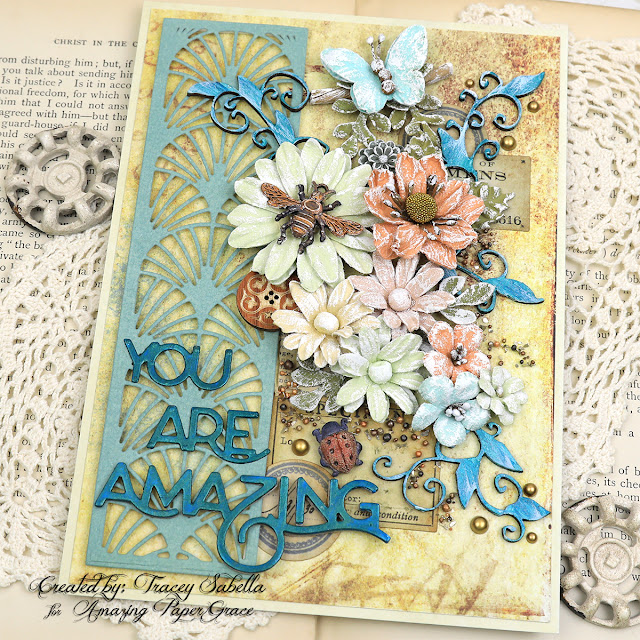
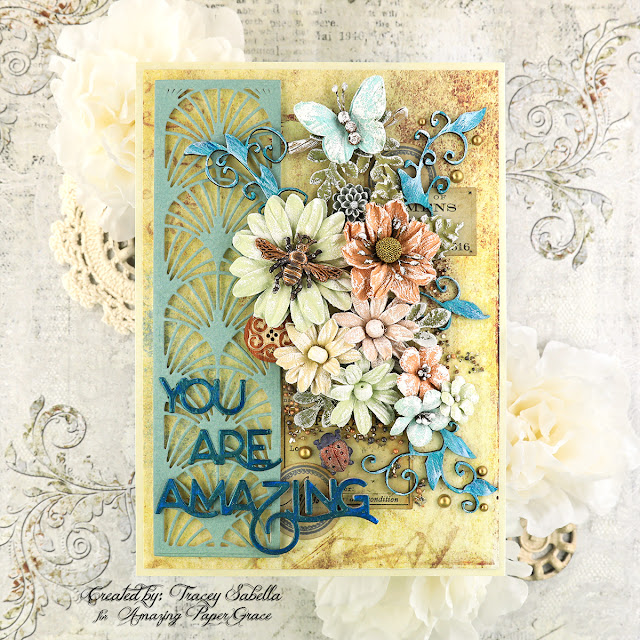
I think it's always lovely to make someone feel special with a handcrafted card and this sweet Amazing Paper Grace You're Amazing die set (S4-1203) shines with this fabulous sentiment. Not only is it such a wonderful and encouraging sentiment, but the font is just amazing too! This set includes the background die seen here which can be cut individually like I did for this card, or repeat cut to fill your background. 

When I consider summer, I think of gorgeous flowers and fluttering insects like this butterfly, bee, and the ladybug that keeps blossoms free of aphids. 

To learn all the details on how I put this sweet card together, please scroll down through my Tips and Techniques section below for close-ups and loads of details.

Thank you Amazing Paper Grace for providing the dies used in this project.

Tips and Techniques
The gorgeous background piece is die cut from green patterned paper, then inked with Speckled Egg Distress Ink to add a little blue and to help make it pop against the background. I used 1/8" foam tape strips to pop it up for dimension. The sweet sentiment is cut from thin white cardstock from a piece of packaging, then painted with Finnabair Metallique Emerald Green Paint. It could also be cut from metallic cardstock, but to get this deep green/blue color, I thought the paint would work best here. I just adore how this color varies from greens to blues. I cut three more pieces of the "ing" letters from the thin chipboard and glued them to the back of the sentiment, so it would sit level over the popped up die cut piece.

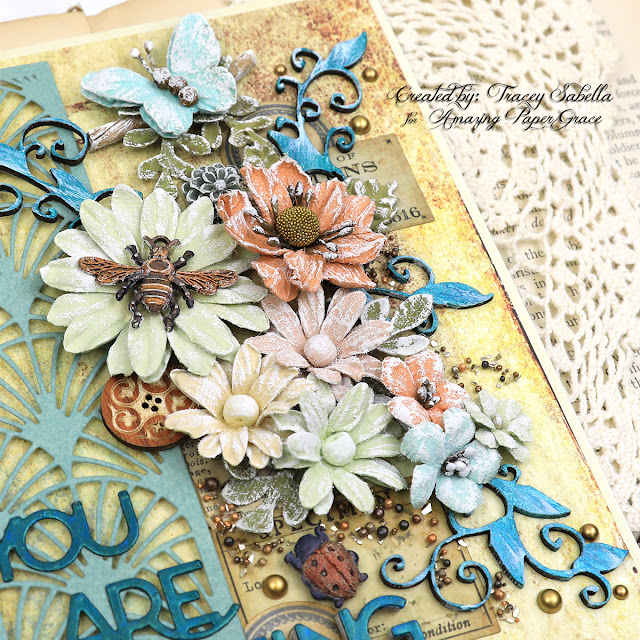
I've used summery Little Birdie Crafts flowers from the Woodland Stories Collection to create this lovely floral cluster. These lovely flowers are dry brushed with white gesso to add a grungy, shabby feel. The chipboard vines are from Dusty Attic and painted with more of the Emerald Green paint along with Mermaid Teal, then dry brushed with a little white gesso.

The metal bee and ladybug are brushed with white gesso, then colored with Finnabair art waxes using a fine tip paint brush.

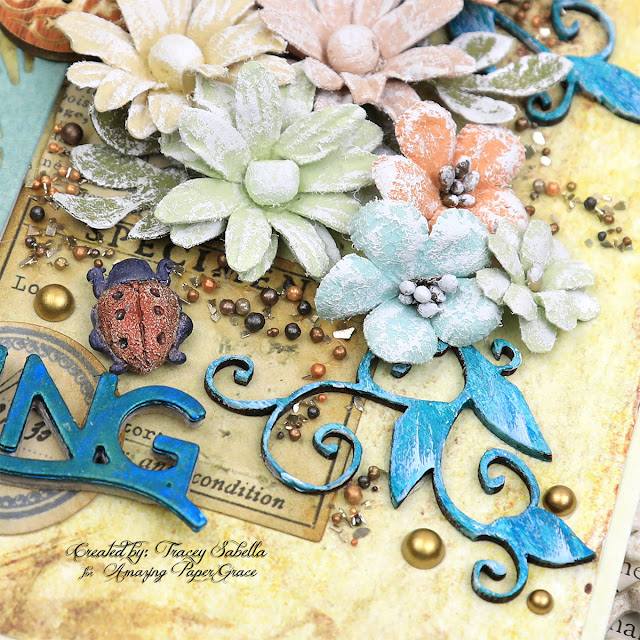
Texture is added by brushing around the cluster with Matte Gel Medium then sprinkling with prills and chunky glass glitter. There are also a few matte gold half pearls scattered around the vines. You can see the darling lady bug a little closer here. 

Underneath the cluster, I've added a few tags and circles from the Tim Holtz Field Notes Ephemera set. The tags are inked around the edges with Vintage Photo Distress Ink. I've also tucked in a wooden button and a grey resin flower that has been dry brushed with gesso. 

One final view. 

Below you can find the products I used to create this project including some with compensated affiliate links to Scrapbook.com. These links are at absolutely no cost to you. When you shop through the links below, I receive a small commission from Scrapbook.com. These commissions help me cover the costs of my blog and other expenses, which allows me to continue to provide you with FREE inspiration along with Tips and Techniques provided for every project. Thank you so much for your love and support!

Amazing Paper Grace:

Paper:

Ink:

Mixed Media:

Embellishments:

Adhesives:

Tools:

Thursday, July 28, 2022

Summer Thank You Card for Amazing Paper Grace

 
Welcome to my creative space!

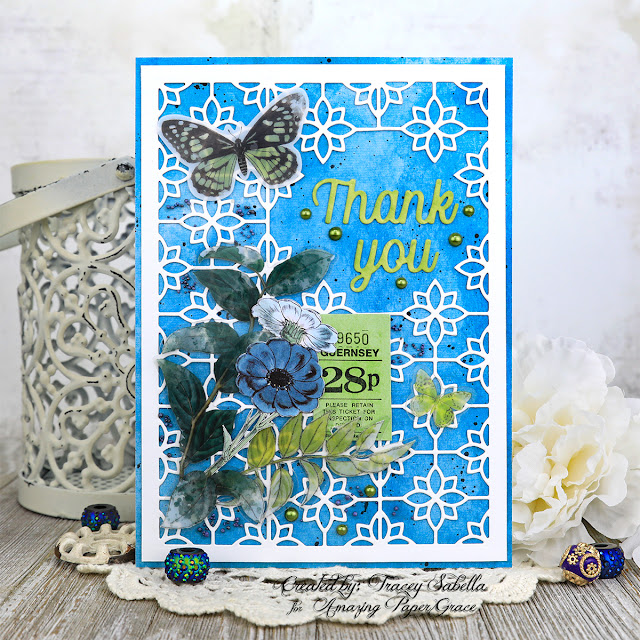
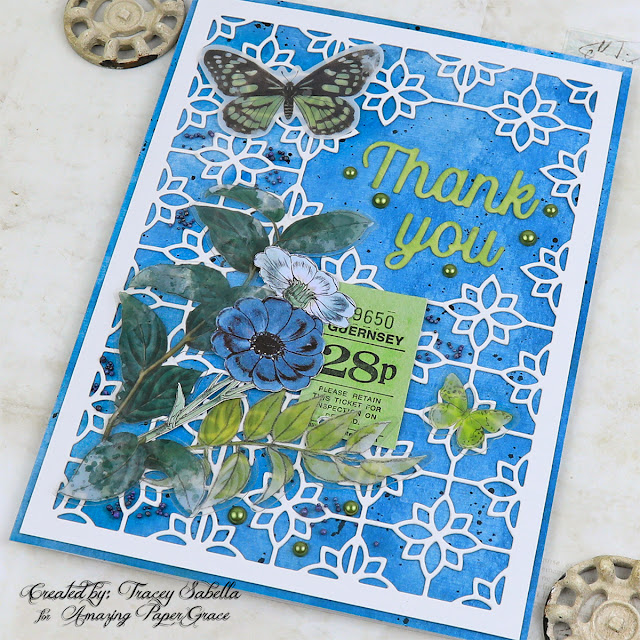
With summer in full swing, I wanted to design something with beautiful sky blues to feature the Amazing Paper Grace 'Thank You for Your Kindness' die set (S5-513) from The Right Words Collection for this lovely thank you card.

There is just something special about sending a handcrafted thank you note. Lately I've been thinking that I should have a few more of these heartfelt cards ready to send, and this die set is just what I needed with the wonderful sentiment words that create: thank you; thank you for your kindness; and you are so kind. The beautiful background die included with this set is so versatile and can be used as a single strip, or repeat cut to create an entire background like you see here. I wanted the sentiment to pop, so cut out the background section that would have been behind the thank you.

I hope you'll scroll down through the "Tips and Techniques" section below for close-ups and all the details on how to create this beautiful thank you card.

Thank you Amazing Paper Grace for providing the dies used in this project.

Tips and Techniques
I cut the background by lining up the dies for a repeat pattern three times and yes, on the repeat, there is a line down the center of each flower which adds charm to the design. 

Designer Tip: Cut the paper about 1/2 inch larger than you need on each side, so if the design isn't quite centered, you can trim it so that the edges are perfectly even. So for example, if you want a 5x7" base, cut it to 6x8", as long as it will fit into your die cutting machine. 

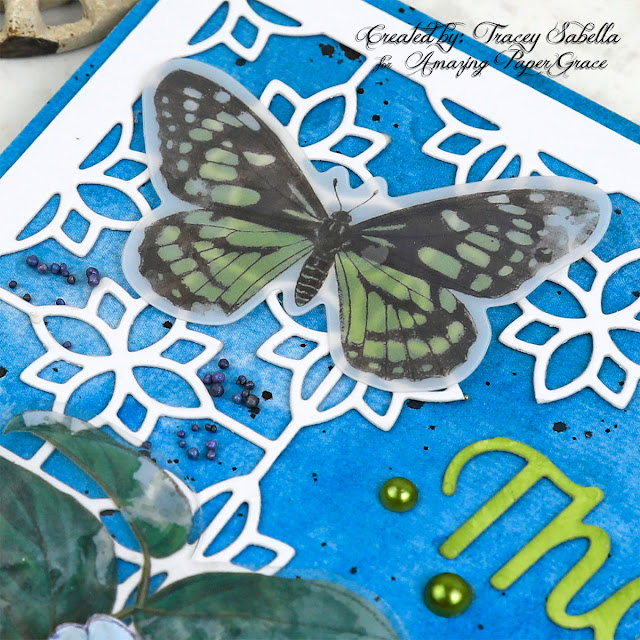
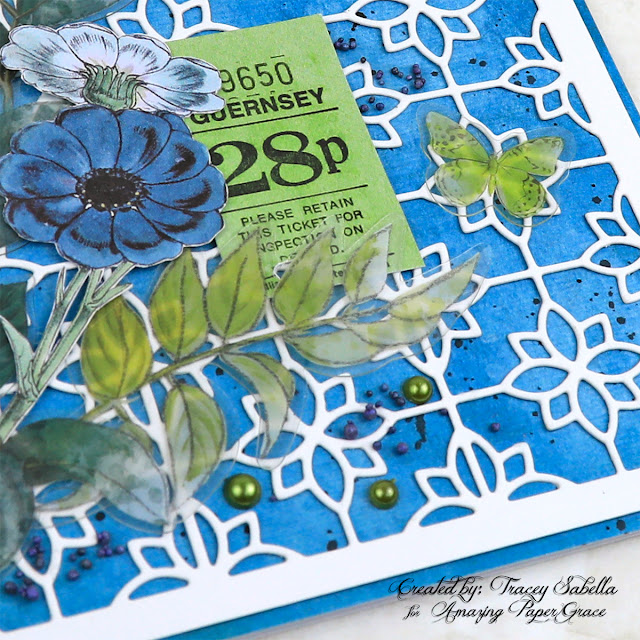
I've used paper and embellishments from the 49 and Market Sectrum Sherbet Tidal Wave Collection including the acetate leaves. The flowers and ticket are fussy cut from the included image sheet in the 6x8" paper pack.

This sweet butterfly is also from the acetate leaves pack. The background paper is spattered with black ink to add visual texture. I've also added green flat back pearls and blue prills for physical texture as well.

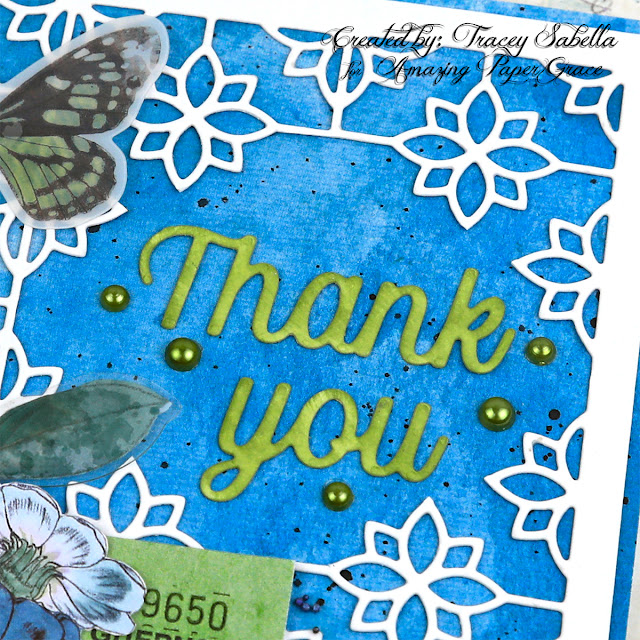
This lovely sentiment was die cut with heavy weight white cardstock, and colored with Distress Inks to coordinate with the embellishments. I used two colors of ink so that the colors would vary like the blue background paper. 

You can see here how I trimmed away some of that background die cut which is also cut in white, but not inked. I tried laying the sentiment over the floral die cut since there is a strong contrast in color, but it was just a little too busy for my taste, so cutting that section out, allows the sentiment to sing. 

Here in the bottom section of the card you can see more of the same textures and another smaller acetate butterfly.

One final view.

Below you can find the products I used to create this project including some with compensated affiliate links to Scrapbook.com. These links are at absolutely no cost to you. When you shop through the links below, I receive a small commission from Scrapbook.com. These commissions help me cover the costs of my blog and other expenses, which allows me to continue to provide you with FREE inspiration along with Tips and Techniques provided for every project. Thank you so much for your love and support!

Amazing Paper Grace:

Paper:

Ink:

Mixed Media:
Higgins Drawing Ink ~ Black
Finnabair with Prima Marketing ~ Soft Matte Gel

Embellishments:
49 and Market - Spectrum Sherbet Collection - Acetate Leaves - Tidal Wave
US Artquest ~ Blue Jean Baby
Flat Back Pearls ~ Grass Green

Adhesives:
Beacon ~ 3-IN-1 Advanced Craft Glue
Beacon ~ Fabri-Tac

Tools:

Thanks so much for stopping by to view my card. I hope you've been inspired.

~ Blessings ~

Sunday, June 12, 2022

“Tell the Story” Floral Camera Card for Little Birdie Crafts

 
Welcome to my Creative Space.

Do you have someone special in your life who exudes creativity? This is just the card to celebrate that artistry. I just adore the camera images included in the fabulous Little Birdie Celebrate Life collection and feature one in this beautiful card.

I’ve layered Celebrate Life ephemera and gorgeous Little Birdie Crafts flowers over the chipboard feather to build dimension as well as adding mixed media touches with stenciling and gesso.

Be sure to hop on over to the Little Birdie blog where I have a full photo tutorial with all the details on how I created this sweet card HERE. Thanks for stopping over there to leave a comment.

Thank you Little Birdie, for providing supplies used in this project!

If you would like to see a full supply list, please scroll down.
Little Birdie Crafts can be purchased at their online store.

Be sure to check out the current sales HERE.

Use code TRACEY05 for a 5% discount.

I receive a small commission at not cost to you.

A couple close-ups for you:


Little Birdie Crafts Supplies:


Other Supplies:
Tim Holtz ~ Small Talk
Wood Shapes ~ Camera; Feather
Scrapbook.com ~ Clear Double Sided Adhesive Roll - Permanent
Helmar ~ 450 Quick Dry Adhesive
Beacon ~ 3-IN-1 Advanced Craft Glue
Beacon ~ Fabri-Tac 
Tombow ~ Mono MULTI Liquid Glue
Foam Tape ~ 1"


Thanks for stopping by! I treasure your comments.

~ Blessings ~