
Welcome to my creative space!
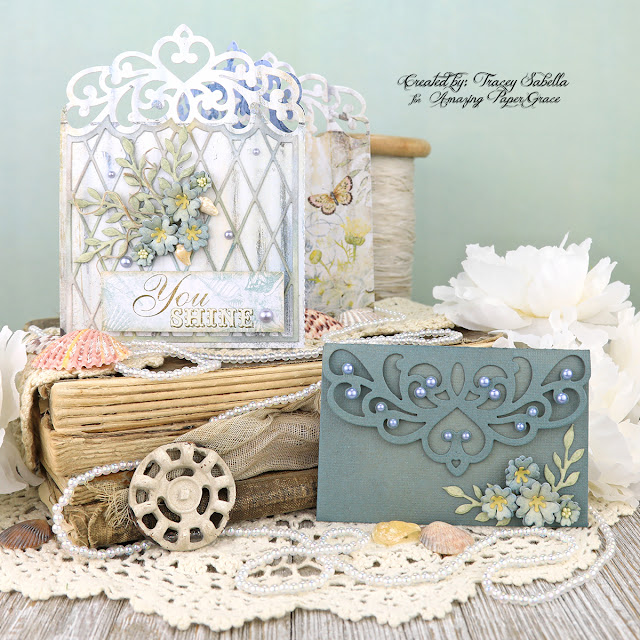
With summer in full swing, I was inspired to create an airy, beachy card with this gorgeous Amazing Paper Grace Tiara Trifold die set.
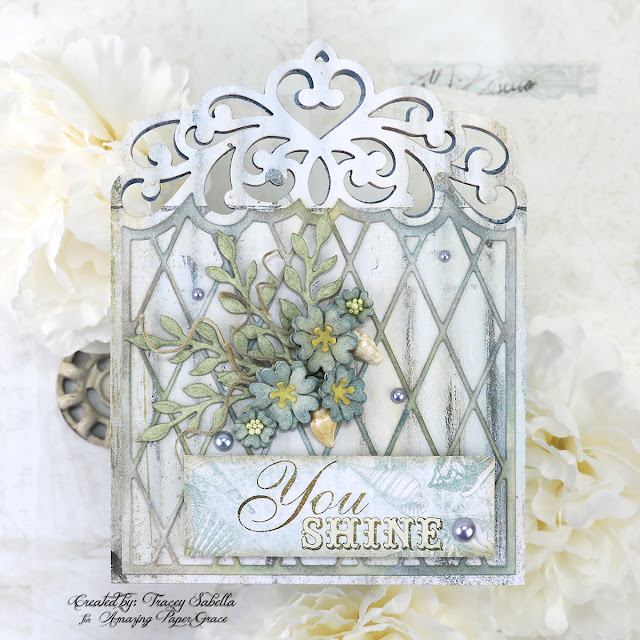
The main card is cut as a trifold from patterned paper, so when opened up the charming summery beach design extends across the entire card. The back of this paper is printed in a lovely sky blue that peeks through the design beautifully. The lattice design for the front of the card is cut from white cardstock and inked in coordinating colors for the design to pop. The delightful cluster of flowers and foliage is also cut with dies from this fabulous set. A couple seashells and bits of moss are tucked in to highlight the beach theme.
There are so many ways to use this gorgeous set, and I got creative to create this gift card envelope in coordinating cardstock. I had a few extra flowers from the card that I added here.
Be sure to scroll down through the Tips and Techniques section below for all the details on how I created this summery ensemble.
Many thanks to Amazing Paper Grace for providing the dies used in this project!
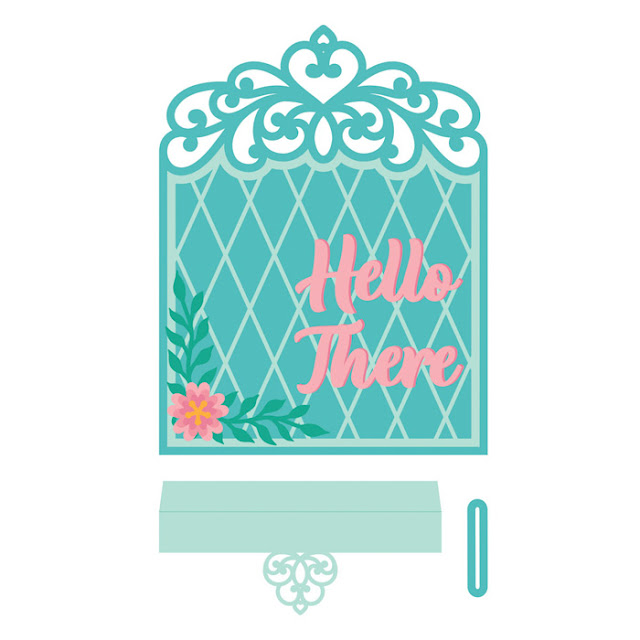
There are 13 cutting dies included in the Tiara Trifold
'You Shine' Trifold Card
Gift Card Envelope

Tips and Techniques
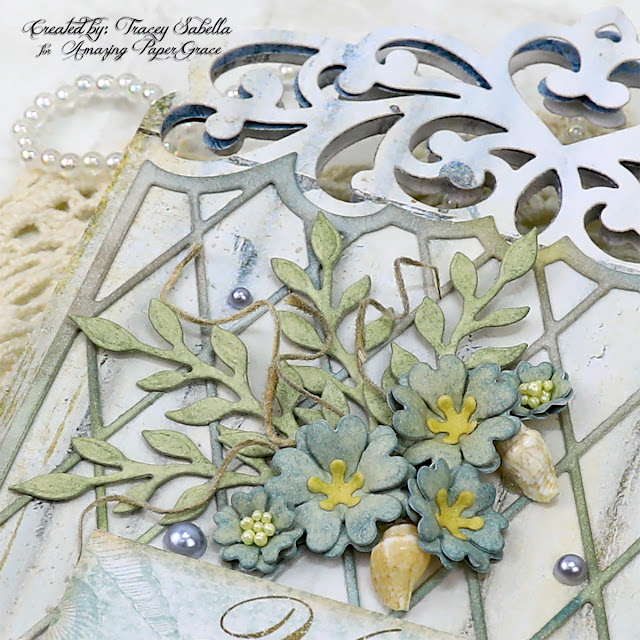
The flower petals are cut from a pale yellow patterned paper and inked with Stormy Sky Distress ink before shaping, and the centers for the medium and larger blossoms are inked with Scattered Straw. The smallest flowers have Lemon Chiffon Prills glued into the centers.
The foliage is cut from the same yellow paper and inked with Iced Spruce.
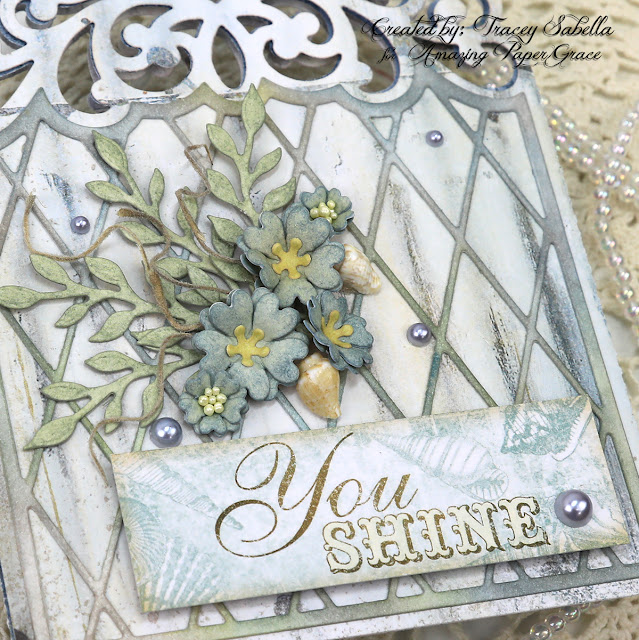
This lovely and encouraging sentiment is cut from the patterned paper.
I've tucked a couple small seashells into the edge of the floral cluster and added a few strands of moss amongst the die cut foliage.
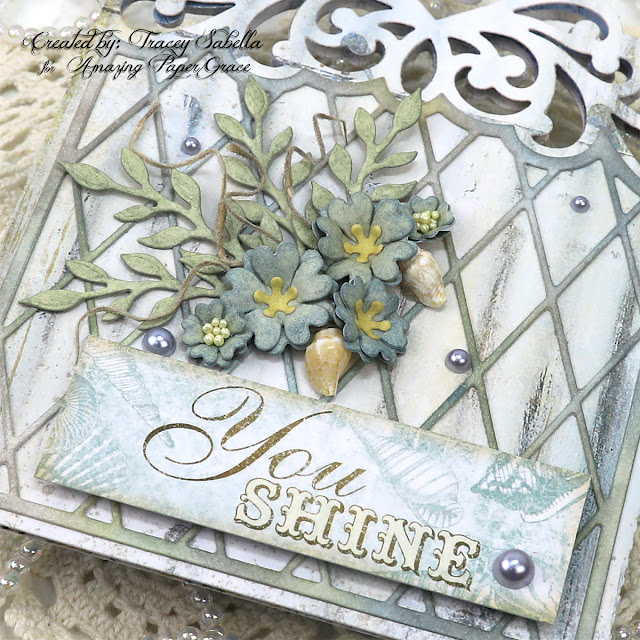
The lattice piece is die cut from 120 lb cover weight white cardstock and brushed with inks in coordinating colors. A thinner paper would have been a challenge to ink without damaging this delicate design, so I used my heavier paper for this. Don't you just adore how the top of the lattice fits right into the tiara design? These details make this set a dream to work with.
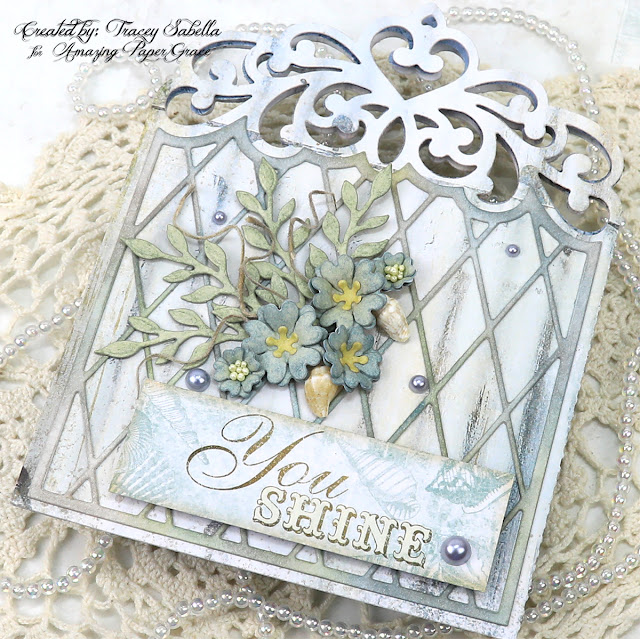
A few pale blue half pearls are scattered around the card.
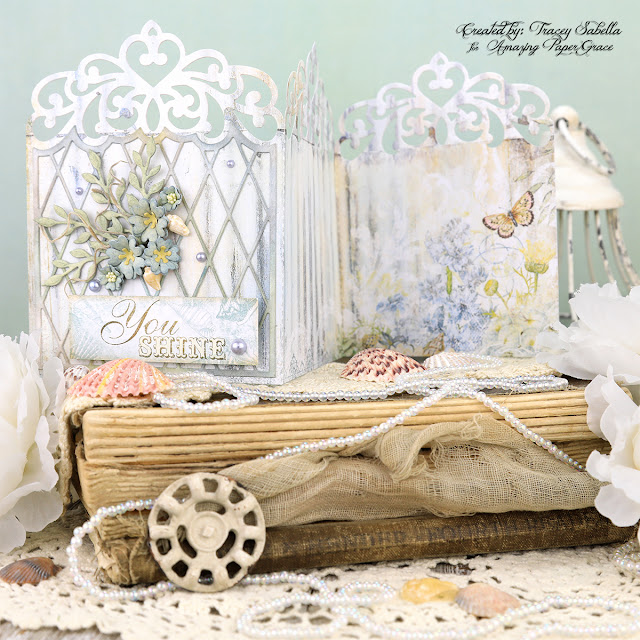
Here you can see how this trifold card opens up to reveal the beautiful patterned paper inside. The middle panel is less busy and would be the perfect place to write a personal note.
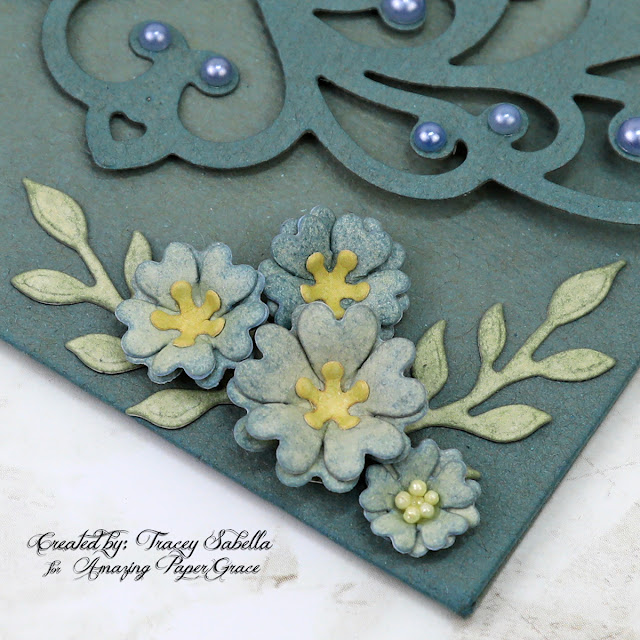
Here are more of those beautiful flowers and foliage on the gift card envelope.
The tiara design and envelope edges are inked with Stormy Sky.

Here are some details on how I put this gift card holder together. I cut one shaped panel from the card, then cut another piece of the same cardstock to 4 1/2 inches wide by 5 inches high. The second piece is scored at 1/4 inches along each side and again across the piece halfway at 2 1/2 inches. Fold in at the 1/4 inch score lines, then fold up at the 2 1/2 inch score line giving you a piece that is 4 inches wide by 2 1/2 inches high.
Score the tiara piece about 1/8 inch or so below the bottom of the design and then score again about 1/16 inch or just below this line. (The envelope ended being a little thick with a gift card tucked in, so the double scoring helps it to lay better.) Now trim off the bottom of the tiara piece at 2 1/4 inches below the bottom score line.
Glue the tiara piece to the inside back of the plain scored and folded piece. If it is too snug, trim the sides down just a little so that it fits nicely. Use 1/8 inch red liner tape to adhere the two inside tabs together and your gift card envelope is ready to decorate.
In addition to the flowers, I added some of those pale blue pearls to the tiara design for a little bling.
A fast and easy, but beautiful accessory to go with the lovely card.
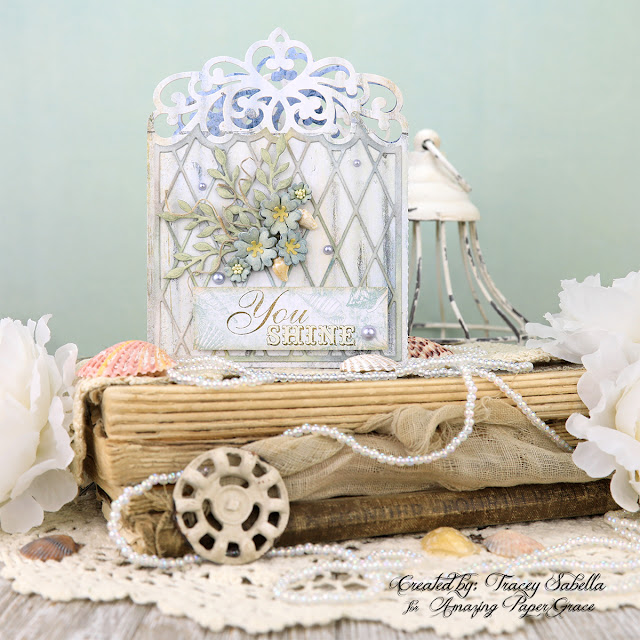
One final look.
Supplies:
Amazing Paper Grace Dies:
- Amazing Paper Grace July 2022 Die of the Month – Tiara Trifold
Paper:
- Blue Fern Studios ~ Seaside Cottage Collection
- Prima Marketing ~ Timeless Memories 12x12" Paper Pad
- Core'dinations ~ 8.5 x 11 Cardstock - Value Pack: White, 110lb
- Tim Holtz with Idea-ology ~ Kraft Stock Classic
Ink:
- Ranger ~ Distress Ink: Hickory Smoke; Pumice Stone; Faded Jeans: Stormy Sky; Iced Spruce; Scattered Straw; Antique Linen
Embellishments:
- US Artiest ~ Mini Drills: Lemon Chiffon
- KaiserCraft ~ Pearls: Denium
- From my stash: Small Seashells; Moss
Adhesives:
- Scrapbook.com ~ Clear Double Sided Adhesive Roll, 1/4"
- Tombow ~ Mono MULTI Liquid Glue
- Beacon ~ Fabri-Tac
- Crafter's Companion - Red Liner Double Sided Tape - Small (1/8")
- Wonder Tape ~ Foam Tape, 3/4"
Tools:
- Spellbinders ~ Platinum 6
The Amazing Paper Grace Die of the Month is available exclusively at Spellbinders Paper Arts during July 2022, Tiara Trifold along with other membership perks.
View this month’s Amazing Paper Grace Die of the Month!

Thanks for stopping by! I treasure your comments.
~ Blessings ~


